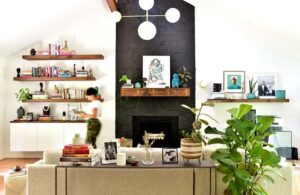
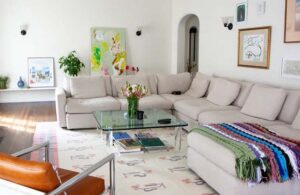
Gallery walls have become a defining feature of contemporary home decor, gracing the pages of shelter magazines and decorating countless blogs. While some may argue that the curated wall is losing its appeal, for avid art collectors like myself, it remains an essential element of interior design.
Embracing the Gallery Wall Aesthetic
For those of us who cherish art and enjoy collecting diverse pieces, gallery walls offer a dynamic and personalized way to showcase our treasures. Recently, I had the opportunity to assist my sister in creating a stunning gallery wall behind her dining table, and I documented the process to share with fellow decor enthusiasts.
- Prepare Your Wall
Begin by prepping the wall surface, ensuring it’s smooth and free of imperfections. Patch, sand, and paint as needed to create an ideal backdrop for your artwork. Utilize the “57 inches rule” by marking the wall with masking tape positioned 57 inches from the floor and centered horizontally. This guideline will serve as a reference point for arranging your pieces.
- Curate Your Art Collection
Select artwork that reflects your personal style and preferences. Whether it’s a collection of travel photos, vintage portraits, or eclectic prints, aim for cohesion within your theme. Alternatively, you can group pieces based on color, media type, or frame style. Strive for a balanced mix, avoiding excessive matching to maintain visual interest.
- Craft Image Templates
Create paper templates matching the size of each framed artwork. Include details such as frame thickness, color, or notable features to aid in arranging the pieces. For artworks with hanging strings or wires, mark the template where the string stops stretching vertically. For pieces with hooks or holes, pierce the template to indicate their position.
- Mark Hanging Points
Flip each artwork face-down and mark the template where the hanging mechanism aligns with the frame. Use pins or pens to indicate the precise hanging points. Take care to ensure accuracy, as these marks will guide the placement of nails or hooks on the wall.
- Arrange and Hang
Experiment with different arrangements using the paper templates and masking tape. Consider factors like color, size, and spacing to achieve a balanced composition. Take breaks to assess the layout from various angles and make adjustments as needed. Once satisfied, hang the artworks using the marked points as a guide. Hammer nails directly through the paper templates, then remove them and replace with the actual artwork.
Conclusion
Creating a gallery wall is a creative and rewarding endeavor that allows you to infuse your space with personality and character. By following these steps and embracing experimentation, you can design a gallery wall that captivates and inspires, showcasing your art collection in all its glory.


